Have you ever thought about growing your own vegetables indoors? It’s a fulfilling experience that can bring fresh produce right to your kitchen while adding a bit of greenery to your living space. Whether you’re limited on outdoor space or you simply want to grow your favorites year-round, this guide will walk you through the steps needed to cultivate a thriving indoor vegetable garden.
Why Grow Vegetables Indoors?
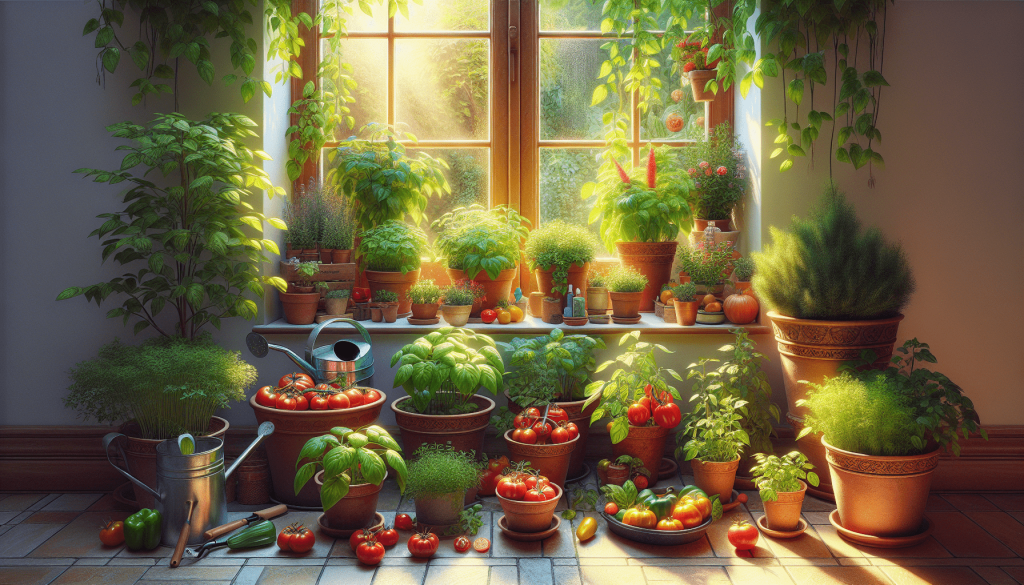
Growing vegetables indoors offers numerous advantages. You can enjoy fresh, organic produce without relying on the supermarket. Plus, it allows you to control the growing environment, which can lead to healthier plants. With indoor gardening, you can pick your favorite vegetables and have them available whenever you need them.
Benefits of Indoor Gardening
- Space Efficiency: You don’t need a large backyard to grow vegetables. Window sills, balconies, and even countertops can become productive gardens.
- Convenience: You can access your fresh produce whenever you like, making it easy to cook with homegrown ingredients.
- Pest Management: Growing indoors typically means fewer pests, so you can cultivate without worrying about harmful insects.
- Extended Growing Season: You can grow seasonal veggies year-round, giving you a fresh supply through all weather conditions.
What You Can Grow Indoors
Not all vegetables thrive indoors, but many do quite well. Here’s a list of some of the best options:
| Vegetable | Growing Conditions |
|---|---|
| Lettuce | Prefers cooler temperatures and indirect light |
| Spinach | Thrives in cooler climates, likes direct sunlight |
| Tomatoes | Requires ample sunlight, good for larger spaces |
| Herbs (basil, parsley) | Need several hours of bright light, easy to grow in pots |
| Peppers | Require warm conditions and bright light |
| Radishes | Fast-growing and need moderate light |
Getting Started: Supplies You’ll Need
Before you start planting, make sure you have the necessary supplies on hand. It’s best to gather everything beforehand so you’re not scrambling when it’s time to plant.
Essential Supplies
- Containers: Choose pots with good drainage. Options range from traditional plant pots to recycled containers.
- Potting Soil: Use a high-quality potting mix designed for container gardening. Look for a mix rich in organic materials.
- Seeds or Seedlings: Decide whether you want to start from seeds or buy young plants from a nursery.
- Watering Can: A gentle watering can will help you give the plant the right amount of moisture.
- Grow Lights: If you do not have enough natural light, consider investing in LED grow lights to supplement lighting needs.
Optional Supplies
- Fertilizers: Indoor plants may require nutrients, so consider using a balanced fertilizer on a regular basis.
- Humidity Trays: These can be helpful for plants that prefer higher humidity levels.
- Plant Labels: Keep track of your plants easily by labeling them.
Choosing the Right Location
Finding the right spot in your home is crucial for the successful growth of your indoor vegetable garden. Different plants require varying levels of light and temperature, so consider these factors as you select the ideal location.
Factors to Consider
- Light Availability: Most vegetables need six to eight hours of sunlight a day. South-facing windows are usually the best spots for catching sunlight.
- Temperature: Vegetables typically prefer temperatures between 65°F and 75°F. Ensure your chosen location is consistently warm but not overly hot.
- Space: Make sure you have enough room for the plants to grow without overcrowding. Consider vertical gardening techniques to maximize space.
Assessing Your Space
Take a moment to analyze the available light and temperature in your home. A small test can be performed by placing your hand in front of the intended spot to gauge sunlight intensity at different times of the day. This information will help you decide where to set up your vegetable garden.
Planting Your Seeds
Once you have everything in place, it’s time to plant your seeds or seedlings. This is where your gardening adventure really begins. Follow these simple steps to get started.
Preparing the Containers
- Choose Containers: If you’re using pots, ensure they have drainage holes. This prevents water from accumulating, which can rot the roots.
- Fill with Potting Mix: Fill the containers with potting soil, leaving about an inch at the top. Gently tamp it down to remove air pockets without compacting too much.
Sowing Seeds or Planting Seedlings
-
From Seeds: Check the seed packet for depth recommendations. Typically, plant seeds about two to three times their diameter in depth. Cover lightly with soil and water gently.
-
From Seedlings: If you’re planting seedlings, dig a small hole in the soil that’s slightly larger than the root ball of the plant. Place the seedling in the hole and fill it in with soil, making sure the plant is upright.
Watering Techniques
After planting, give your seeds or seedlings a good watering. Here’s how:
- Moisture Level: Keep the soil consistently moist but not soggy. Overwatering can lead to root rot, while underwatering can stress the plants.
- Watering Schedule: Water your plants once the top inch of the soil feels dry. This typically means daily watering for seedlings and less often for mature plants.
Caring for Your Indoor Vegetables
Now that your seeds are planted, it’s important to care for your plants properly. This includes managing light, watering, feeding, and addressing any pests that may arise.
Light Management
If your plants aren’t getting enough natural light, invest in grow lights. Here’s how to use them effectively:
- Duration: Most vegetables benefit from 12 to 16 hours of light per day.
- Positioning: Place the lights about 6 to 12 inches above the plants. Adjust as the plants grow taller.
Watering Routine
Here are a few tips for managing your watering routine effectively:
- Check Regularly: Use your finger to check the moisture level of the soil. Water plants only when necessary.
- Watering Method: When watering, apply water directly to the soil rather than soaking the leaves, which can lead to mold and fungal issues.
Fertilizing Plants
Indoor plants can benefit from additional nutrients every few weeks:
- Type of Fertilizer: Use a balanced, water-soluble fertilizer according to the package instructions. Look for organic options for healthier plants.
- Frequency: Generally, fertilize every two to four weeks during the growing season. Reduce or stop in the fall and winter.
Pest Monitoring and Management
Even indoor plants can attract pests. Keep an eye out for common problems and know how to address them:
Common Pests
| Pest | Symptoms | Treatment |
|---|---|---|
| Aphids | Tiny, soft-bodied insects on leaves | Spray with soap solution |
| Spider mites | Fine webs on plants, leaf discoloration | Increase humidity, remove with water |
| Whiteflies | Small white insects flying around | Use sticky traps, natural predators |
| Fungus gnats | Small flies around the soil | Allow soil to dry out between watering |
Harvesting Your Vegetables
Once you’ve nurtured your plants and watched them grow, the time will come to enjoy the fruits of your labor! Harvesting is one of the most rewarding parts of indoor gardening.
Knowing When to Harvest
Each vegetable has its own signs that indicate readiness for harvest:
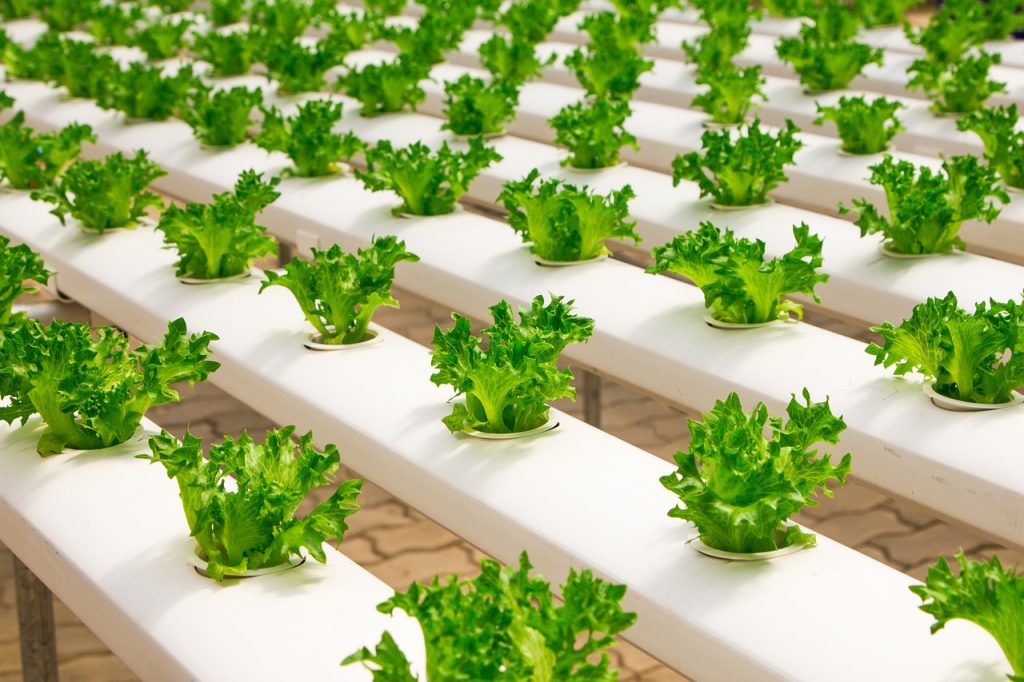
- Lettuce: Leafy greens can be cut when they reach about 6 inches in height. They tend to be best when young and tender.
- Tomatoes: Pick when they are fully colored (red, yellow, green depending on the type) and slightly soft to the touch.
- Peppers: Harvest when they are fully grown but still firm. They can be picked at various stages of color depending on your preference.
Harvesting Technique
- Use a sharp, clean knife or pair of scissors to avoid damaging the plant.
- Harvest early in the morning when flavors are at their peak.
Post-Harvest Care
Once harvested, proper handling is key:
- Washing: Rinse your vegetables thoroughly to remove any dirt or insects.
- Storage: Store your produce in the refrigerator to prolong freshness. Most leafy greens do well in plastic bags, while tomatoes should be stored at room temperature.
Troubleshooting Common Issues
Even the best gardeners face challenges. Knowing how to troubleshoot common issues can make a huge difference.
Common Problems and Solutions
| Issue | Potential Causes | Solutions |
|---|---|---|
| Yellowing Leaves | Nutrient deficiency or overwatering | Adjust watering and fertilization |
| Wilting Plants | Underwatering or extreme heat | Water thoroughly; check temperature |
| Stunted Growth | Poor light or root-bound plants | Move to better light; repot as needed |
| No Fruit Setting | Lack of pollination or temperature issues | Hand-pollinate or adjust conditions |
Tips for Continuous Growth
To ensure that your indoor vegetable garden continues to thrive, consider these strategies:
Rotate Your Crops
To prevent soil depletion, practice crop rotation. By changing the type of plants grown in a specific pot, you’ll help maintain nutrient levels in the soil.
Plan for Seasons
Plan ahead by considering seasonal vegetables. Start seeds indoors early to ensure a longer growing season, or switch to cool-weather crops when the heat of summer arrives.
Embrace Companion Planting
Some plants thrive when grown together. For example, herbs can deter pests from vegetable plants, helping to keep your garden healthy.
Conclusion
Growing vegetables indoors can be an incredibly rewarding venture. With a little planning, the right supplies, and a commitment to care, you can enjoy fresh, homegrown produce at your fingertips. By understanding the needs of your plants and taking the time to address any issues that arise, you’ll create a flourishing indoor garden that brings joy and vitality to your space.
You’re now equipped with the knowledge and tips needed to embark on your indoor gardening journey. Happy planting!